In this guide
Plan the work area
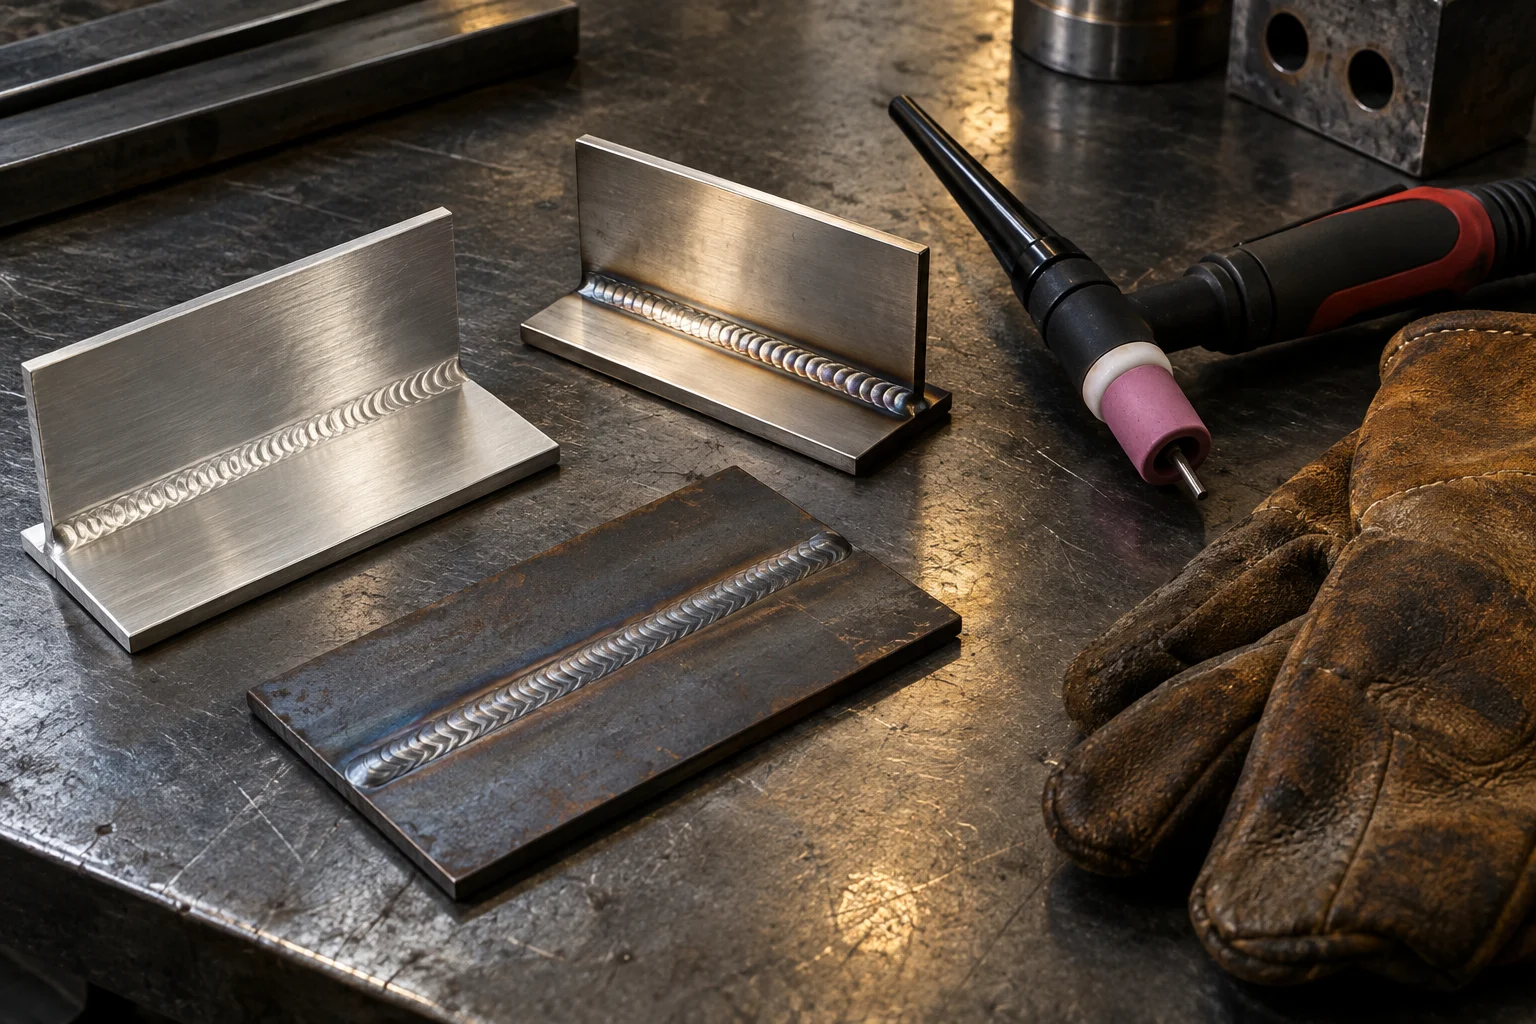
A helmet and gloves are only part of a welding setup. Assess the material, coatings, process, electrical equipment, fire risks and nearby people before starting. Follow equipment instructions and the rules that apply where you work.
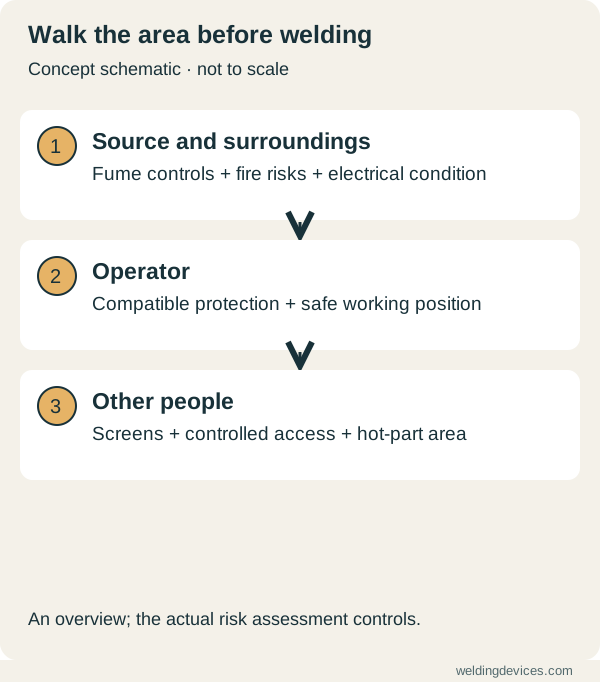
Schematic; source.
Control fumes at the source
Welding fume requires effective control. Source extraction can capture it near the weld, with suitable respiratory protection where the assessment requires it. An open door is not a universal substitute for effective fume control. Keep the operator’s head out of the plume and avoid arranging extraction so that it disrupts shielding.
Protect people and the workspace
Select suitable eye and face protection, flame-resistant clothing and gloves for the task. Protect nearby people from arc radiation and other hazards. Remove or protect combustible material, have appropriate fire arrangements, and inspect leads and equipment before use.
Workshop example
Before a practice session, walk through the setup from the viewpoint of someone entering the room. Can they see the arc? Could they touch hot metal? Is the extraction in position? Small changes to layout can prevent avoidable exposure.
Recognise jobs that need specialist controls
Confined spaces, unknown containers, coated materials and laser welding need additional assessment and training. Do not weld or cut a used drum or closed container based on appearance or a simple rinse.
This page is an overview. The specific risk assessment, equipment instructions and local requirements determine the controls for the job.
Walk through the complete job
Start with the material arriving at the bench and continue through cutting, preparation, fitting, welding and cleanup. Each stage can introduce hazards that a helmet alone does not address. Identify coatings and unknown residues before choosing preparation methods. Read the equipment and consumable instructions, and arrange competent assessment where the material or environment raises questions you cannot resolve.
Picture a short repair beside stored cardboard, a wooden bench or a nearby worker. The weld may take only seconds, while sparks, hot material and exposure can affect a wider area. Check surrounding spaces and any relevant site rules before starting. The amount of time at the arc is not a reliable measure of how much planning the job needs.
Make protection work as a combination
Try the clothing, gloves, eye protection, welding filter and any assessed hearing or respiratory protection together. Check that you can operate the equipment and maintain the required fit. One item can interfere with another, particularly around helmet headgear and a respirator seal. Select a compatible arrangement using the relevant product instructions and competent guidance.
Protect nearby people as part of the setup. Consider arc exposure, flying particles, noise and access to hot parts. Use suitable screens and separation for the actual task. A helper standing nearby needs appropriate protection too. Put the hot-part area where someone will not accidentally pick up a freshly welded item while looking for a tool.
Plan fume control before arranging the bench
Follow the applicable assessment and guidance for exposure control. Effective capture near the source may require a particular arrangement and regular checks. General room ventilation or an open doorway should not be treated as evidence of adequate control. Ask who checks the extraction system and how the operator recognises a problem.
Arrange the work so the required extraction can function while you can still see and reach the joint. Consider residual exposure and any appropriately selected respiratory protection. Confined spaces and oxygen-deficient environments require specialist arrangements and trained controls; a workshop fan or particulate mask is not a general answer. If the work area cannot support the necessary protection, change the plan before welding.
Keep equipment checks practical
Inspect accessible leads, connections, the work clamp and the torch as the manufacturer instructs. Keep the working area dry and manage cables so they are protected from damage and do not create avoidable trips. An electrical fault or unfamiliar warning should lead to the prescribed response and competent service, not an improvised internal adjustment.
Check cylinders and gas equipment through the supplier's handling and connection instructions. Use compatible fittings and secure the cylinder as required. Keep maintenance within the activities assigned to the operator. A short written checklist helps you remember these checks after moving equipment or changing process, when a familiar setup can contain a newly introduced problem.
Finish the job deliberately
Follow the site's fire precautions, including any required monitoring after hot work. Identify who checks the area, what must be inspected and when the job can be considered complete. Deal with hot parts, used electrodes, debris and equipment shutdown according to the relevant instructions. Cleanup should leave the next person a work area they can understand.
Use the protective equipment guides for purchasing questions and the manuals for exact equipment requirements. Keep emergency arrangements known and accessible. A useful safety routine is specific to the task and easy to repeat. It supports practice by ensuring that the place, equipment and people are ready before attention turns to controlling the weld pool.
Put the choice in context.
Try the welding process finder to narrow your equipment research, or compare a complete setup in the ownership cost calculator.
References
Open the publisher’s page. If a new tab fails, use “Open directly” or copy the address into your browser.
- HSE — Protect workers from welding fume · sourceOpens the source in a new tabhse.gov.ukLink checked · 31 Oct
- OSHA — Welding, cutting and brazing overviewOpens the source in a new tabosha.govAutomated check blocked · 31 Oct
- OSHA — Ventilation and protection in weldingOpens the source in a new tabosha.govAutomated check blocked · 31 Oct
- OSHA — Hot-work planningOpens the source in a new tabosha.govAutomated check blocked · 31 Oct