In this guide
Why a flat part moves
Welding produces uneven heating and cooling. Local expansion and contraction can leave a thin assembly bowed, twisted or out of alignment. Distortion is therefore a planning problem as well as a technique problem.
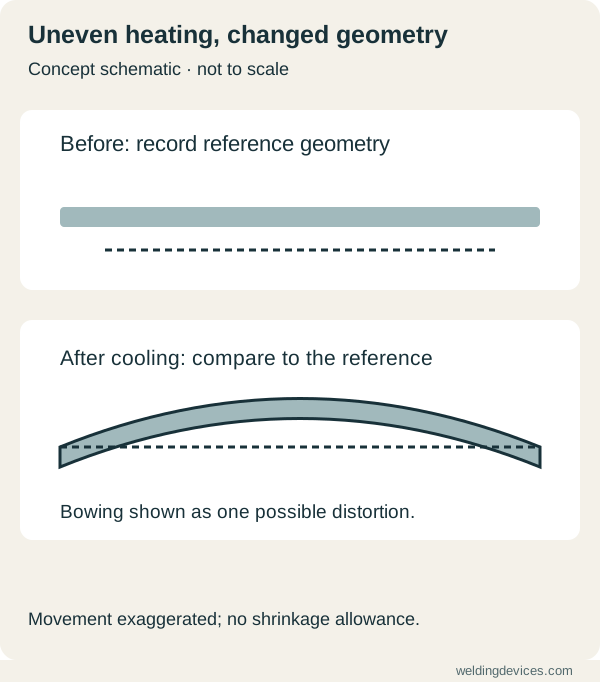
Schematic; source.
Start with the assembly
Consistent fit-up and an appropriate tacking sequence help hold the required joint geometry. Fixtures or restraints may help, but they also affect the assembly and stress state. Use methods suitable for the design and procedure rather than simply adding stronger clamps.
Avoid unnecessary weld metal
Design choices such as balanced weld placement and avoiding oversized welds can reduce distortion. Intermittent welding is an option only where the design and service requirements permit it. Do not shorten a required continuous weld merely to keep a panel flat.
Workshop example
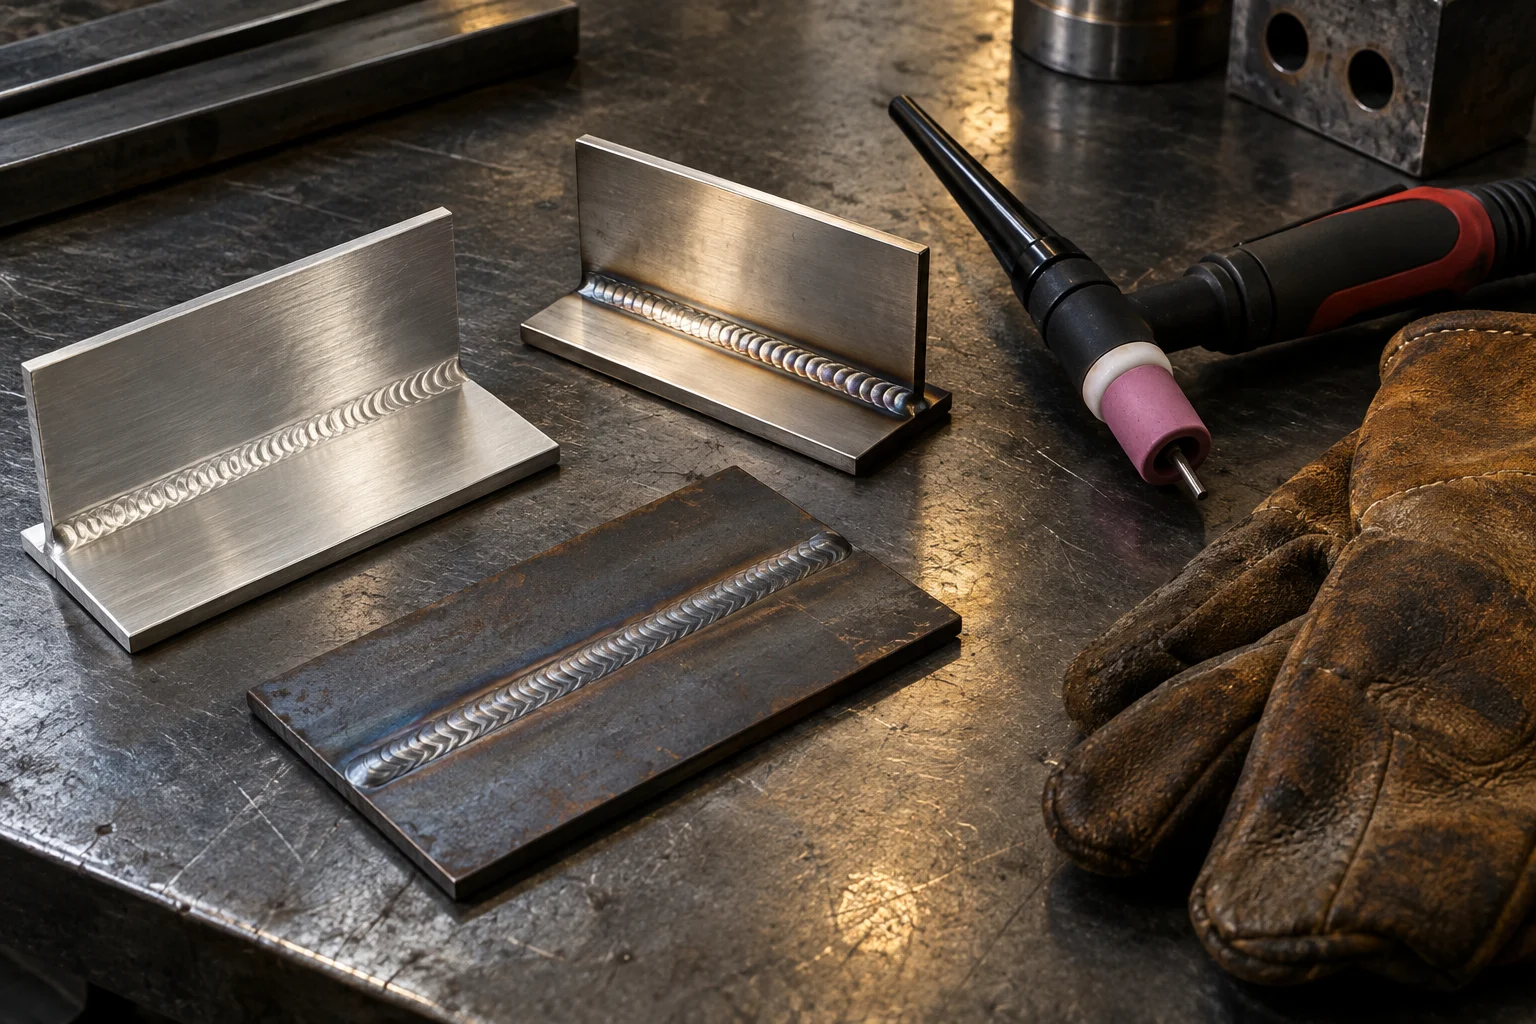
Mark reference dimensions on a practice assembly before welding. Record the joint gap, tack sequence and measurements after cooling. Change one aspect of the sequence on a second matching sample. This creates a useful comparison without turning the real component into the experiment.
A preparation card
- Required final dimensions and tolerances.
- Joint geometry and fit-up.
- Approved tack method and weld sequence.
- Permitted fixtures or backing arrangements.
- When to measure and how to inspect.
If a part distorts, seek an appropriate corrective method. Uncontrolled heating or forcing it flat can introduce new problems and does not confirm that the joint remains acceptable.
Define what flat enough means
Before making a tack, identify the dimensions that matter to the finished assembly. A visible panel, an enclosure lid and a small cover may have different fit requirements. Mark measurement points and decide how the part will be checked. Without that baseline, a discussion about reducing distortion can become a debate about appearance rather than a useful fabrication plan.
Use a consistent measuring method on the unwelded assembly. Record gaps, alignment and support conditions. A panel measured while clamped firmly to a table can tell a different story from the same panel after release. Specify when checks will happen and how the part will be supported. This makes the before-and-after comparison meaningful and helps prevent a fixture from hiding the change you need to understand.
Improve fit-up before chasing settings
Lay out the parts and look for gaps, mismatched edges and awkward access. Cutting and preparation errors can make the welding task less consistent. Correct the fit using the appropriate fabrication method before treating machine adjustment as the solution. Have a trainer or qualified adviser establish the joint preparation and tack sequence appropriate to the application.
For practice, use matching coupons and make one deliberate difference between samples. For example, compare two approved sequencing approaches under otherwise consistent conditions. Label each sample and record preparation, support, tacks and welding order. Do not use a practice experiment to improvise the design of a safety-critical part. The exercise should teach observation within a suitable procedure.
Plan the next joint before starting this one
Imagine how the assembly will be reached as more connections become fixed. Can the torch reach the final seam? Will a clamp block your view? Can you inspect the reverse side where required? Write down the sequence rather than discovering each access problem after the previous joint has been completed.
Discuss balanced sequencing, weld size and the use of restraint with competent guidance. More weld metal is not automatically better, and heavy clamping is not a universal cure. The design and procedure determine the required joint. A plan that controls movement must still produce an acceptable weld. Treat distortion control and joint quality as connected requirements rather than separate competitions.
Watch the sample through the full sequence
Make dimensional observations at the planned stages, including after appropriate cooling and release from the fixture. Handle hot work using suitable protection and a clear hot-part area. Avoid rushing to force the assembly back into shape because the first measurement is disappointing. Record the condition before choosing a correction.
A simple sketch and several dated photographs can show where movement began. Note which seam had just been completed, whether a clamp moved and how the measurement was made. That record gives a fabrication specialist something useful to review. A final photograph of a warped part contains much less information about the sequence that produced it.
Review correction and prevention separately
If correction is needed, have a competent person select a suitable method for the material and application. Uncontrolled heating, hammering or forced assembly can introduce new concerns. Check the relevant joint and dimensions after any approved correction. Making the part fit does not by itself establish that the weld remains acceptable.
Then ask what should change before the next assembly: cutting accuracy, fit-up, tack plan, support, joint design or welding sequence. Use the preparation and inspection lesson to organise that review. A successful thin-sheet workflow reduces avoidable variation and leaves a measurable result. It does not depend on finding one magic current value that works for every panel.
If metal melts away and leaves an opening, use the MIG burn-through investigation to distinguish that symptom from distortion and organise the next practice checks.
Put the choice in context.
Try the welding process finder to narrow your equipment research, or compare a complete setup in the ownership cost calculator.
References
Open the publisher’s page. If a new tab fails, use “Open directly” or copy the address into your browser.
- TWI — Distortion prevention by fabrication techniques · sourceOpens the source in a new tabtwi-global.comLink checked · 31 Oct
- TWI — Distortion prevention by designOpens the source in a new tabtwi-global.comLink checked · 31 Oct
- TWI — Distortion types and causesOpens the source in a new tabtwi-global.comLink checked · 31 Oct
