
In this guide
Start with two separate skills
TIG uses a tungsten electrode to create the arc, with filler added separately when the joint requires it. The torch hand controls position and movement; the filler hand supplies material. A remote control may regulate current according to the machine's arrangement. Trying to master every action at once can make the first exercise unnecessarily confusing.
Begin with identified practice material and an instructor's supported setup. Use the required protection, exposure controls and exact equipment instructions. This lesson organises practice rather than prescribing a universal welding procedure. Safety-critical work requires its own competence and acceptance arrangements, and a tidy coupon cannot establish those by itself.
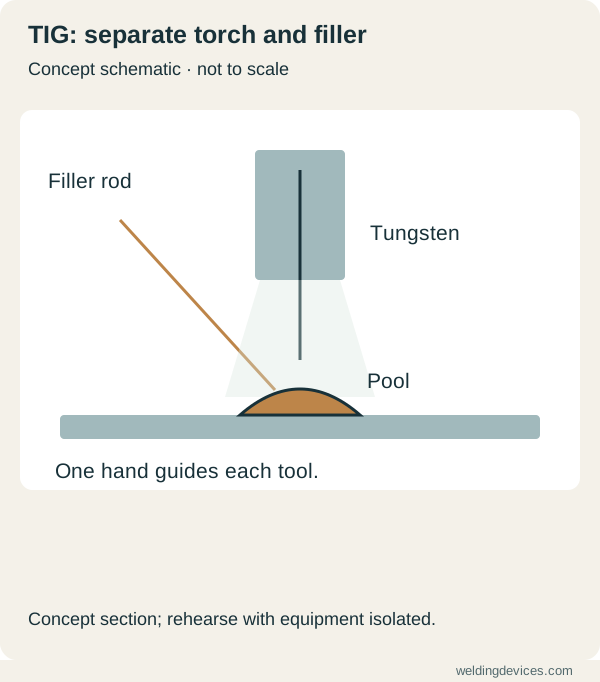
Schematic; source.
Arrange a position you can maintain
Prepare the material and joint as specified. Place the coupon where you can see it without leaning into the fume path. Arrange suitable support for your hands and keep cables from pulling on the torch. Check how the filler hand will reach the entire exercise. Plan where the hot sample will go afterwards.
With the equipment safely isolated, rehearse torch movement from start to finish. Keep the required angle and distance as consistent as practical. If the cup, clamp or glove blocks access, change the supported arrangement before welding. A comfortable rehearsal removes a coordination problem that no advanced current setting can fix.
Practise filler feeding without an arc
Use a clean practice rod and your task-appropriate gloves. Move a short length through your fingers while keeping the tip aimed consistently. Practise in the position needed for the coupon, rather than only while sitting upright. Keep the rod under control and prevent its unused length from creating a handling hazard.
Next rehearse both hands together with the machine isolated. Move the torch along the path while making small, deliberate filler movements toward the intended pool location. Slow the exercise until it feels coordinated. This teaches movement without using an active arc as feedback for every early mistake.
Check tungsten and shielding setup
Confirm the correct tungsten type, size and preparation method for the selected output and application. Follow the instructions for preparation tools and exposure control. Check the torch parts, cup, gas and supported current-control arrangement. Do not assume that a DC setup can be copied unchanged into an AC aluminium exercise.
Record the configuration before practising. Verify gas delivery and connections using the specified method. Learn the machine's start, finish and post-flow behaviour from its manual. Keep advanced controls at the documented baseline for the introductory exercise. You can explore balance and pulse later with a defined purpose and suitable guidance.
Learn to observe the pool
With supervision, practise the instructor's short pool-control exercise. Watch the material at the joint rather than treating the arc's brightness as the only reference. Maintain the supported torch position and controlled movement. Where the exercise uses remote current control, practise the prescribed start and finish without introducing unnecessary menu changes.
Stop and label the sample. Note where the torch drifted, visibility changed or your hand support became uncomfortable. Repeat comparable exercises so the observation becomes useful. A single successful attempt is encouraging, but several consistent samples show more clearly which skill you have actually learned.
Add filler deliberately
When the instructor introduces filler, use the compatible rod and add it at the prescribed pool location. Keep the rod tip within the appropriate shielding region and coordinate each addition with torch progress. Avoid touching the tungsten with the rod or pool. If contamination occurs, stop and follow the correct tungsten preparation method before continuing.
Record the event rather than hiding it by changing current or adding more filler. The next exercise can focus on a smaller, more controlled rod movement or a steadier torch hand. A regular rhythm is useful when it reflects the joint's needs; decorative spacing alone does not establish a sound weld.
Review starts, finishes and dimensions
Inspect the cooled sample's full length and accessible sides using the agreed method. Record visible discontinuities, consistency and movement of the coupon. Ask the instructor which concerns require further examination. The surface can provide clues while leaving internal condition unresolved.
Keep separate notes for coordination, appearance and inspection. If all three are combined into a single good-or-bad judgement, the next lesson becomes less precise. A short practice record should identify the setup, the skill attempted, what occurred and which change is justified next.
Progress one requirement at a time
Move to another joint, material or machine control only through an appropriate learning plan. Use the AC/DC controls guide for terminology and the joint preparation lesson for fit-up. Keep material-specific requirements attached to the exercise.
Finish each session with labelled samples and one clear learning objective. That record makes your next supervised trial more purposeful. TIG coordination grows through deliberate, repeatable movement and honest review, rather than copying a complicated settings photograph without understanding the material, equipment or intended result.
Give the termination its own practice check
Use the TIG end-crater lesson to record the finishing sequence and inspect the stop separately. Bring any uncertain hollow, opening or branching line to the instructor before choosing the next exercise.
Put the choice in context.
Try the welding process finder to narrow your equipment research, or compare a complete setup in the ownership cost calculator.
References
Open the publisher’s page. If a new tab fails, use “Open directly” or copy the address into your browser.
- Miller — Guide to TIG welding basics · sourceOpens the source in a new tabmillerwelds.comLink checked · 31 Oct
- Miller — TIG technique and filler coordinationOpens the source in a new tabmillerwelds.comLink checked · 31 Oct
- HSE — Welding exposure controlsOpens the source in a new tabhse.gov.ukLink checked · 31 Oct