
In this guide
Start with the workpiece
Before buying more machine features, work out how you will support, measure and hold the parts. A small fabrication project needs a clear workspace and access for the torch, preparation tools and inspection.
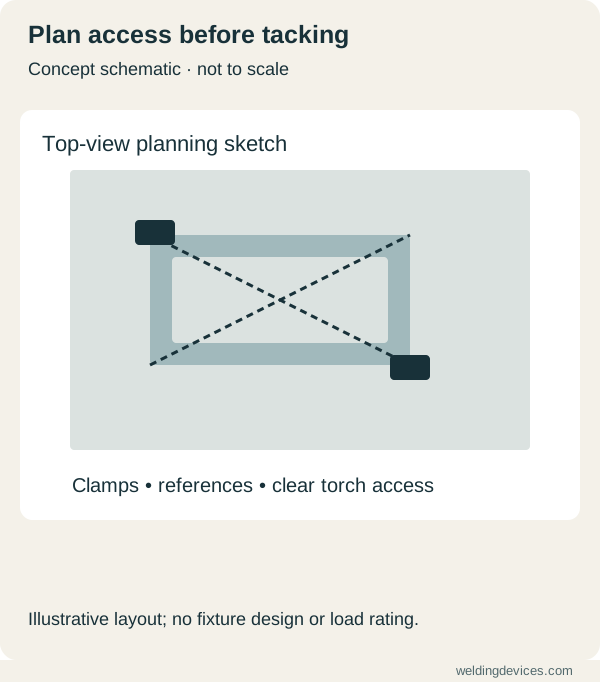
Schematic; source.
A useful first equipment list
- A stable, suitable work surface sized for the parts and the intended work.
- Task-appropriate clamps and fixtures with enough access to the joint.
- A reliable square, rule, tape measure and marking tools.
- Material-appropriate brushes, files and preparation equipment.
- Organised storage for clean consumables, cold tools and used practice coupons.
Check fit-up before welding
Dry-fit the parts, measure the geometry and check that the clamps let you reach the joint. Recheck after tacking rather than assuming the setup has stayed square. Manufacturer project plans can demonstrate the relationship between clamping, measurement and fabrication; they are not a universal design for your workpiece.
Spend where it removes a problem
If every joint takes time to position, useful clamps may improve the workflow more than another machine accessory. If measurements vary, improve the measuring routine first. These are editorial purchasing priorities, not measured productivity claims.
Explore homemade jigs and workshop accessories for simple project ideas. Support design, load capacity and electrical return arrangements must suit the actual job.
Build a layout around a real assembly
Choose a representative part and lay out the stages on paper. Where will raw material be placed, prepared pieces held and completed work inspected? Leave access for the torch, extraction, measuring tools and safe handling. A large table is useful only if the work can be reached comfortably and the surrounding area supports the job.
For a small frame, check whether all joints can be accessed before anything is tacked. Identify the awkward final corner and decide how the assembly will be positioned. Keep hot parts separate from tools people might pick up. This exercise often reveals a more useful first purchase than another machine feature: a suitable support, a reliable clamp or a way to measure alignment consistently.
Understand what the clamp is doing
A clamp may locate a part, maintain a gap or hold the assembly while tacks are made. Identify its purpose rather than adding clamps wherever there is space. Confirm that the tool suits the load, temperature and task. Keep the clamp from obstructing the torch, hiding the joint or interfering with required extraction and inspection.
Check the arrangement with the equipment isolated. Rehearse movement from the start to the finish of the seam. Ask whether the work can shift as a clamp is released or another joint is completed. Do not assume that every clamp or table connection provides an appropriate welding return path. Follow the equipment instructions for the work connection and have unfamiliar arrangements assessed competently.
Measure consistently before and after tacking
Agree reference edges and measurement points. Record dimensions before tacking and at the stages specified by the fabrication plan. For a simple rectangular practice frame, an instructor may use diagonal measurements alongside other alignment checks. The important lesson is to use the same references and explain what each check can reveal.
Keep measuring tools clean and suitable for the required precision. A rule, square and tape can answer different questions; none automatically proves the finished assembly acceptable. Record how the part is supported during measurement. A fixture may hold an assembly in position temporarily, so review the specified checks after cooling and release as well as while it remains restrained.
Choose a table for useful access
Compare working height, load rating, stability, usable surface and compatibility with the chosen clamps. Consider where cables and extraction equipment will run. A hole pattern or modular fixture system can be valuable for repeated work, but only when its accessories support your actual parts. Check what is included and which additional fixtures must be purchased.
For occasional projects, a simpler suitable setup may be enough. For repeat work, consistent references and documented fixture arrangements can justify more capable equipment. Ask to try a representative assembly on the proposed table. Evaluate setup and release time, torch access and measuring convenience. A impressive-looking fixture does not earn its cost merely by having many holes or polished accessories.
Make a repeatable setup sheet
Photograph the agreed arrangement and label the reference points, clamp positions and inspection stages. Include the drawing revision and any authorised sequence. Keep the sheet easy to understand from the operator's working position. If the next person needs a long explanation of an unlabelled photograph, improve the record before expecting it to support repeat work.
Use the joint preparation lesson and distortion guide to connect fit-up with the later result. Review the setup when the part, material or sequence changes. Good workshop equipment makes correct preparation easier to repeat and inspect. Its value appears in the finished workflow, rather than in how much hardware can be arranged around one demonstration piece.
Put the choice in context.
Try the welding process finder to narrow your equipment research, or compare a complete setup in the ownership cost calculator.
References
Open the publisher’s page. If a new tab fails, use “Open directly” or copy the address into your browser.
- Miller — DIY fabrication: clamping, squareness and fit-up · sourceOpens the source in a new tabmillerwelds.comLink checked · 31 Oct